Tools, machines and hay products explained
Updated 2026-09-27
On this page
Choose equipment for the job that is slowing you down: collecting hay, moving it, processing it or finding needles. A processor needs a supply route; a conveyor needs a destination. Buying both without checking their connections can leave you with an idle line.
Which equipment does which job?
| Job | Equipment to look for | What to check |
|---|---|---|
| Manual collection | Shovels, pitchforks, vacuums | How the tool gathers hay and where you will unload it |
| Carrying hay | Buckets, wheelbarrows | The capacity display and the trip to your destination |
| Automatic transport | Conveyors, robotic arms | Pickup position, travel direction and delivery point |
| Processing | Balers, hay wrappers, paper machines | Accepted material and the product leaving the machine |
| Needle detection | Metal detector, scanners | Where detection happens along your digging or conveyor route |
These equipment families appear in the official game description. Check your Demo's shop and unlocks before planning around an item shown on the full game's store page.
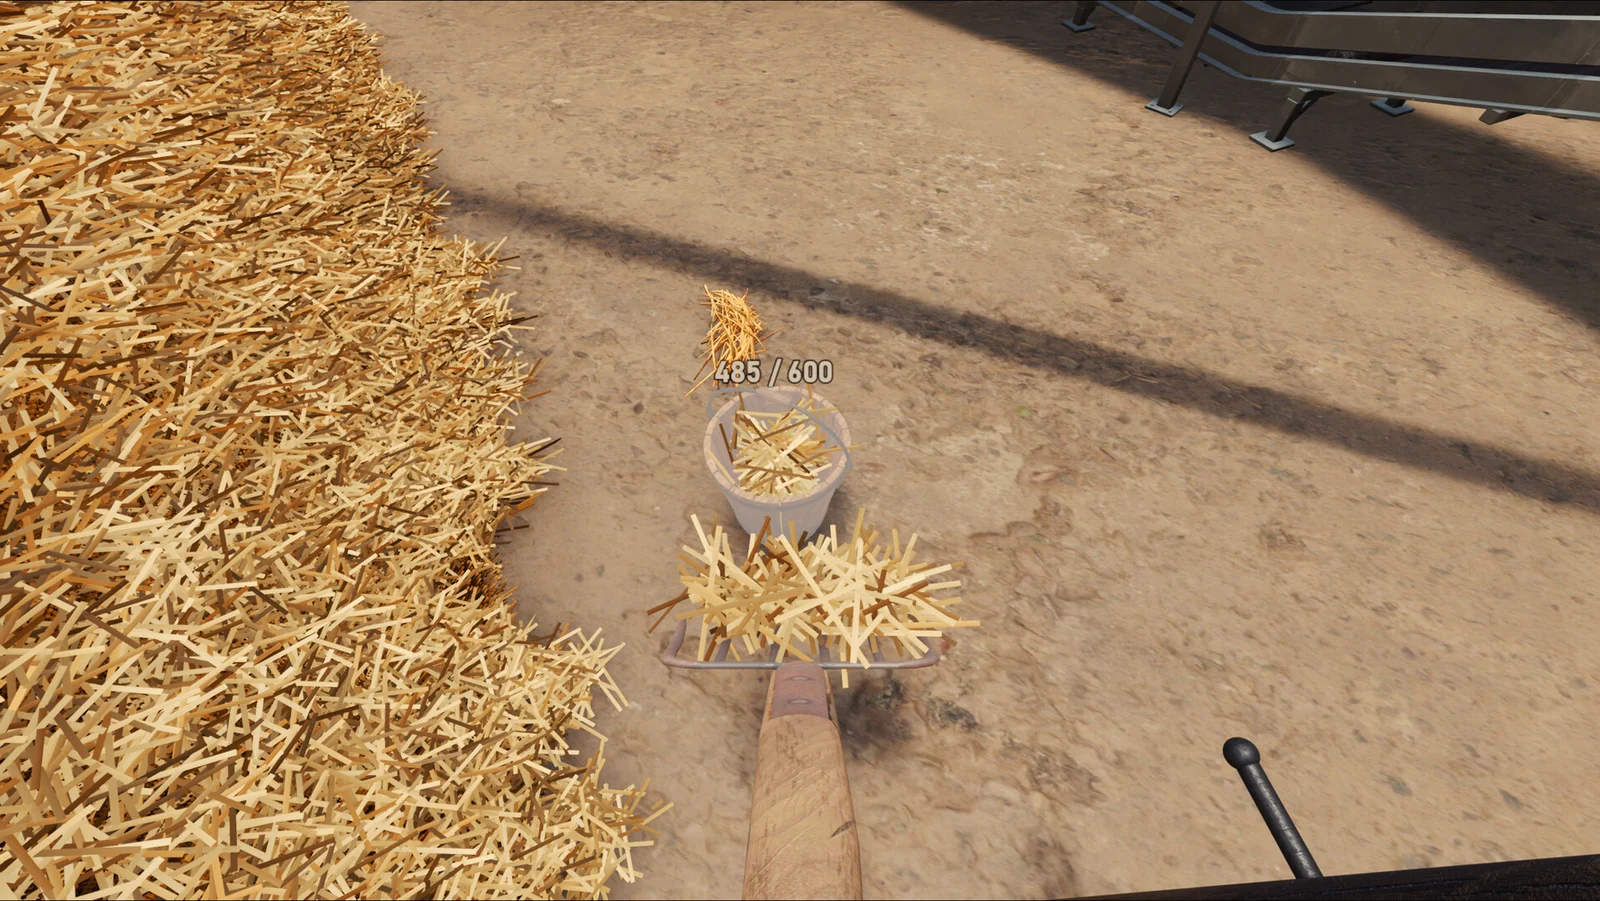
The bucket display in this official screenshot shows its current load against its capacity. Watch that display while collecting; the number shown here is one pictured setup, not a capacity for every bucket or upgrade.
For the manual collection loop, start with Getting started. For detection equipment, see Needles and scanners.
What are the hay products?
The store names hay pulp, compressed bales, eco bricks, hay paper and pellets. Those names describe different processed outputs: pulp, compacted bundles, bricks, paper and small pellets. They are not a recipe sequence: do not assume that producing one automatically supplies the next.
When choosing a product, work backward from the machine that makes it. Read its input label, identify how you can supply that material, then check where the output can go. In particular, distinguish loose hay from an already processed product when connecting two machines.
For a concrete example, the Demo V8 update added resource indicators such as BRICKS and HAY to the Pellet Disc Machine. Read those indicators when connecting it; the machine's name alone does not tell you which material belongs at each connection.
Check the whole purchase, not just the machine
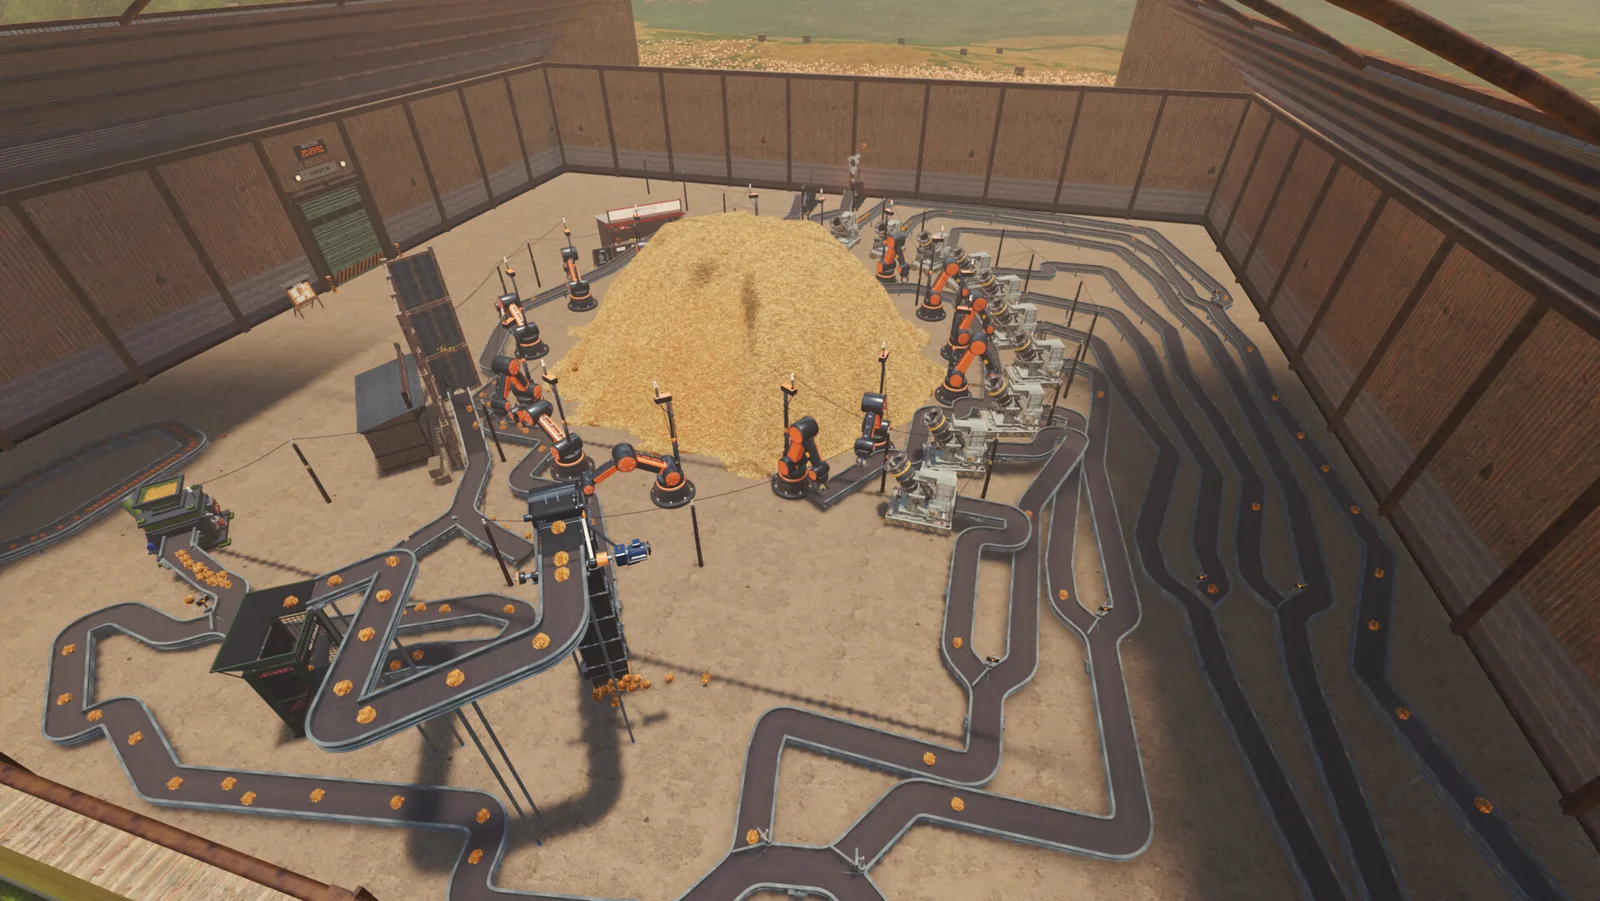
The screenshot shows why floor space matters: the machines beside the pile are only part of the installation; their belts also need room.
Before spending, check:
- Input: can your existing setup deliver the material this machine accepts?
- Power: what connection does it need, and can you reach it?
- Output: where will its product leave, and is there space to connect that side?
- Destination: will the output feed another machine or a sale point that accepts it?
Leave enough budget and space to finish those connections. Then observe one complete material route before adding another branch; the automation guide walks through that layout check.
Equipment, product names and screenshots: official Steam game page and Demo page.
Related guides
Connect conveyor belts, power and the hay sell stand
Use sell-stand snapping and No Snap mode, check a stopped power grid, and trace bottlenecks before expanding your hay production line.
Demo updates: what V8 changed and what to check
A practical summary of Demo V8 belt, power and performance changes, with dated official news and the planned full-game release.
Find the Needle demo: download, saves and PC requirements
Install the official Steam demo, find and back up its Windows save folder, and check requirements and full-game release plans.
Getting started: hay, tools and your first upgrades
Learn the manual collection loop, read the research tree and choose between better tools, transport and your first powered line.